Showing posts with label Bread Baking Day. Show all posts

Thursday, January 24, 2013

Painted Bread for BBD#56

While learning new recipes is (almost) always fun and delicious, learning a new kitchen technique is something that I do not focus on quite enough.  So when I saw the theme of this months Bread Baking Day challenge, I was intrigued.  This month's challenge, hosted by my dear friend Jenni, is all about beautiful breads - any kind of bread, as long as it is deliberately beautified using any beautification technique we choose. And, believe it or not, there are plenty. You can use herbs, seeds, nuts, fruits, vegetables, or a variety of painting of stenciling techniques to create gorgeous images right on the crust of any loaf of bread.

While all of the techniques looked impressive, the one that caught my eye was one referred to as "loaf painting," where images are painted onto the surface of the bread. The usual medium, from what I have seen, is a mixture of instant coffee grounds and egg yolk, though one very successful and talented bread artist actually creates colors using concentrates of various ground grains or seeds. 

I do not have instant coffee, so I chose to create a concentrate using dark cocoa powder as the base of my "paint".


I simply combined one part dark cocoa powder and two parts water in a small saucepan and whisked the mixture over medium high heat until it reduced significantly into a thick paste.

Then, using an egg yolk, I created different concentrations to see if it would effect the color of the finished product.  I saved some yolk itself, had one mixture of more yolk than cocoa concentrate, one of mostly the cocoa with just a bit of yolk, then I had the pure concentrate, too, in case I needed more.


As far as the bread was concerned, I wanted a simple canvas, so I chose to make baguettes using the french bread recipe I used when making fougasse.  I baked the loaves just until they started to turn golden, then little miss and I started painting.


She was amazed when I told her we'd be painting on bread.  We used the different "colors" as best as we could, but it didn't give quite the color variation we were hoping for.


 All of the cocoa variations looked the same, and the plain yolk, rather than just adding shine or highlight, like I'd expected, still looked pretty yellow when baked.

Regardless, we both really enjoyed both the process and the finished loaves.


Little miss was worried that the bread would taste like chocolate due to the cocoa paint (I served the bread with soup at dinner that night and she didn't want chocolate minestrone...), but it didn't effect the flavor at all.


I am not much of an artist, but I think I want to try my hand at this again. I think this technique would make a fun centerpiece at an event or big dinner, and that being able to customize loaves for friends, families or occasions is a very fun skill to add to my repertoire.


I can't wait to see the round-up of this challenge to see the other beautiful loaves created this month. Thanks for the awesome topic, Jenni!


Decorated French Bread Baguettes
(bread recipe from J's Kitchen, painting technique adapted from Chef Tess Bakeresse)

For the bread:
500 grams bread flour

5 grams active dry yeast
10 grams salt
375 ml water

Stir yeast into the flour until evenly distributed. Stir in salt, then water, and mix until the dough begins to form.
Transfer the dough to a clean work surface. Continue mixing/kneading the dough by stretching it out and folding it over onto itself repeatedly and from each direction. Continue working the dough until it comes away cleanly from the work surface and is not (or, for me, is less...) sticky.
Move the dough to a floured area of your work surface, and shape the dough into a ball (as best as you can - it is still a wet dough). Transfer the dough into a lightly oiled (large!) bowl, cover it with a tea towel (or plastic wrap) and allow it to rest for at least one hour.
After the dough has rested, turn it out (carefully) onto a floured work surface. Generously flour the top of the dough, then cover with a tea towel and allow it to rest for another five minutes or so.
Divide the dough into two equal pieces and shape each into a baguette. Set baguettes onto a baking sheet, spray with cooking spray, cover with plastic wrap, and allow to rise for another hour.
Preheat oven to 450 degrees.
Just before placing the loaves in the oven, dust the tops with flour and slash the top of each loaf with a sharp knife.
Bake the bread for about 15-20 minutes, just until the loaves begin turning golden brown.
Carefully remove the loaves from the oven and transfer to a cooling rack.
Using your prepared "paints" (method I used below), paint your design onto the crust of the breads.
Return breads to the oven and bake for at least five more minutes, until the breads are done.
If you are using multiple colors or shades, start with the lightest color first and return the loaves to the oven for a few minutes to set the "paint" prior to layering the darker colors on top.
Remove completed breads from oven and transfer to wire rack to cool.

To prepare the "paint," combine one part cocoa powder and two parts water in a small saucepan. Whisking constantly, heat the mixture over medium high heat until the mixture is thick. It will reduce quite a bit.
Set the cocoa concentrate aside to cool.
Once the cocoa concentrate has cooled, carefully separate an egg - you need the yolk here. Reserve the white for another use (or to egg wash the loaf when you are done, if you want). Mix the yolk up, then combine a small amount of the concentrate with a small amount of the yolk to create a paint-like consistency. Theoretically, you can vary the shade by varying the amount of concentrate/yolk in each mixture. This didn't work for me, but I have complete faith that it should.

Enjoy!

Friday, November 30, 2012

Apple and Honey Sourdough Bread for BBD #54

I was in the mood to try a new sourdough bread this week.  Something fun, something fresh, something delicious.

After considering all of my options (including, but not limited to, all fruits and vegetables currently in the house, not to mention the idea for a chocolate sourdough bread that just won't leave my mind...), I decided to go with a classic Fall flavor - apples and honey.  And to liven it up a bit, I decided to infuse the bread with one extra flavor:

DSC04253

Green tea. Just to see what would happen.

I have made a couple of different sourdough loaves, using a couple different formulas/recipes. I referred back to my previous attempts and adapted them for this loaf.

I started by making the levain - using my 100% hydration liquid starter to create a firm starter, just by changing the usual ratio of flour and water used to feed the sourdough.  And after an overnight rest, it was time to make the bread.

The next morning, I combined the stiff starter with additional flour, applesauce and green tea, to infuse a bit of extra freshness to the flavor of the loaf.  Once the dough was all incorporated, it was time to add the flavor - a diced apple and a generous swirl of honey.

DSC04257

But after the first hour's rest, I saw that something wasn't quite right...

DSC04273

Umm.... it seemed to be leaking. Weird.

And that's when I realized what I'd done. I'd confused the two recipes that I'd been referring to. I used the firm starter measurements from one recipe and the loaf measurements from another, which may have something to do with the extra moisture that resulted here. Or it might have had something to do with the apples... I'm not sure.

Either way, when it came time for the next set of stretching and folding, I had to use some extra flour and a clean bowl, but it still came together pretty well.

DSC04279

And after its final, longest rest, it was ready for the oven.

Now, I know I always talk about how good things smell as they bake, but it really is true. Aside from the delicious bread scent, the apples added another delicious layer to the aroma. Seriously good.

And then came the hardest part of the process. The waiting.

But the reward of cutting into this bread is definitely worth the patience.

DSC04285

A nice, thick crumb, but a pretty open yet moist crumb - this bread is delicious, with the heartiness of the apple chunks, and the interplay of the tanginess of the sourdough with the subtle sweetness of the honey - a truly delicious combination.

So good that someone couldn't wait to get his piece...

DSC04290

Before I had the chance to write this up, I happened upon the announcement for this month's Bread Baking Day theme - overnight breads!  While the announcement indicates that most overnight breads are rested overnight at the end, at the proofing stage, I thought that this one, with its overnight fermentation of the firm starter, fit the bill, so I am sharing this bread with this month's host over at Hefe und mehr.


Apple and Honey Sourdough Bread
(my own creation, based on previous attempts)

For the firm starter:
2/3 cup sourdough starter (100% hydration)
4.5 oz. bread flour
1/4 cup water

Mix these together and let ferment at room temperature for 4 hrs. Refrigerate overnight (or even up to a few days).

For the bread:
all of the levain
9.25 ounces flour
0.125 ounces salt
3.25 ounces brewed green tea (brewed strong)
4.75 ounces apple sauce
1/4 cup honey
1 apple, diced

Combine the levain, flour, tea, salt and applesauce, and allow to rest for 20 minutes.
On a lightly floured counter, stretch out the dough into a long rectangular shape.
Drizzle the honey and sprinkle the diced apple pieces as evenly as possible across the dough, theb fold/roll the dough over top (which ever method you want to do this is fine, you just need to get it in there).
Place the dough in a large oiled bowl, cover, and allow to rest for 1 hour.
Stretch and fold the dough, place back in the bowl and allow to rest for 1 hour.
Make another stretch and fold, place back in the bowl, cover, and let sit for at least four hours.
(If you would like, you can place the dough in the refrigerator at this point to rest overnight)
When you are ready to bake, preheat the oven to 500 degrees and cover a baking sheet with parchment. Flour the parchment and turn the dough out onto it. Score the top of the loaf.
Place the bread in the oven and turn the oven down to 450.
Bake the loaf for 25-35 minutes, until nicely golden brown.
Cool for at least 1-2 hour before slicing.

Enjoy!

Wednesday, August 29, 2012

Chocolate Povitica for BBD#53

When I chose the topic for this month's Bread Baking Day event, I wasn't sure what I was going to choose as my own submission. There are so many beautiful and delicious options that it was very hard to choose just one. But my mind kept returning to a beautiful and utterly swirl-filled bread that I'd made once before, and I just knew that I would take this opportunity to make it again.

I'm talking about the povitica.  I originally made the povitica as a Daring Bakers' Challenge, but have been looking for an opportunity to try it again, as everyone in the family truly enjoyed it.  And, being the swirliest bread that I have ever made, I knew that now was the time.

The original recipe provided for the challenge was written to make four loaves. When I made the bread for the challenge, I halved the recipe and made two loaves. Today I chose to make just one, so did a little bit of math and quartered the recipe.

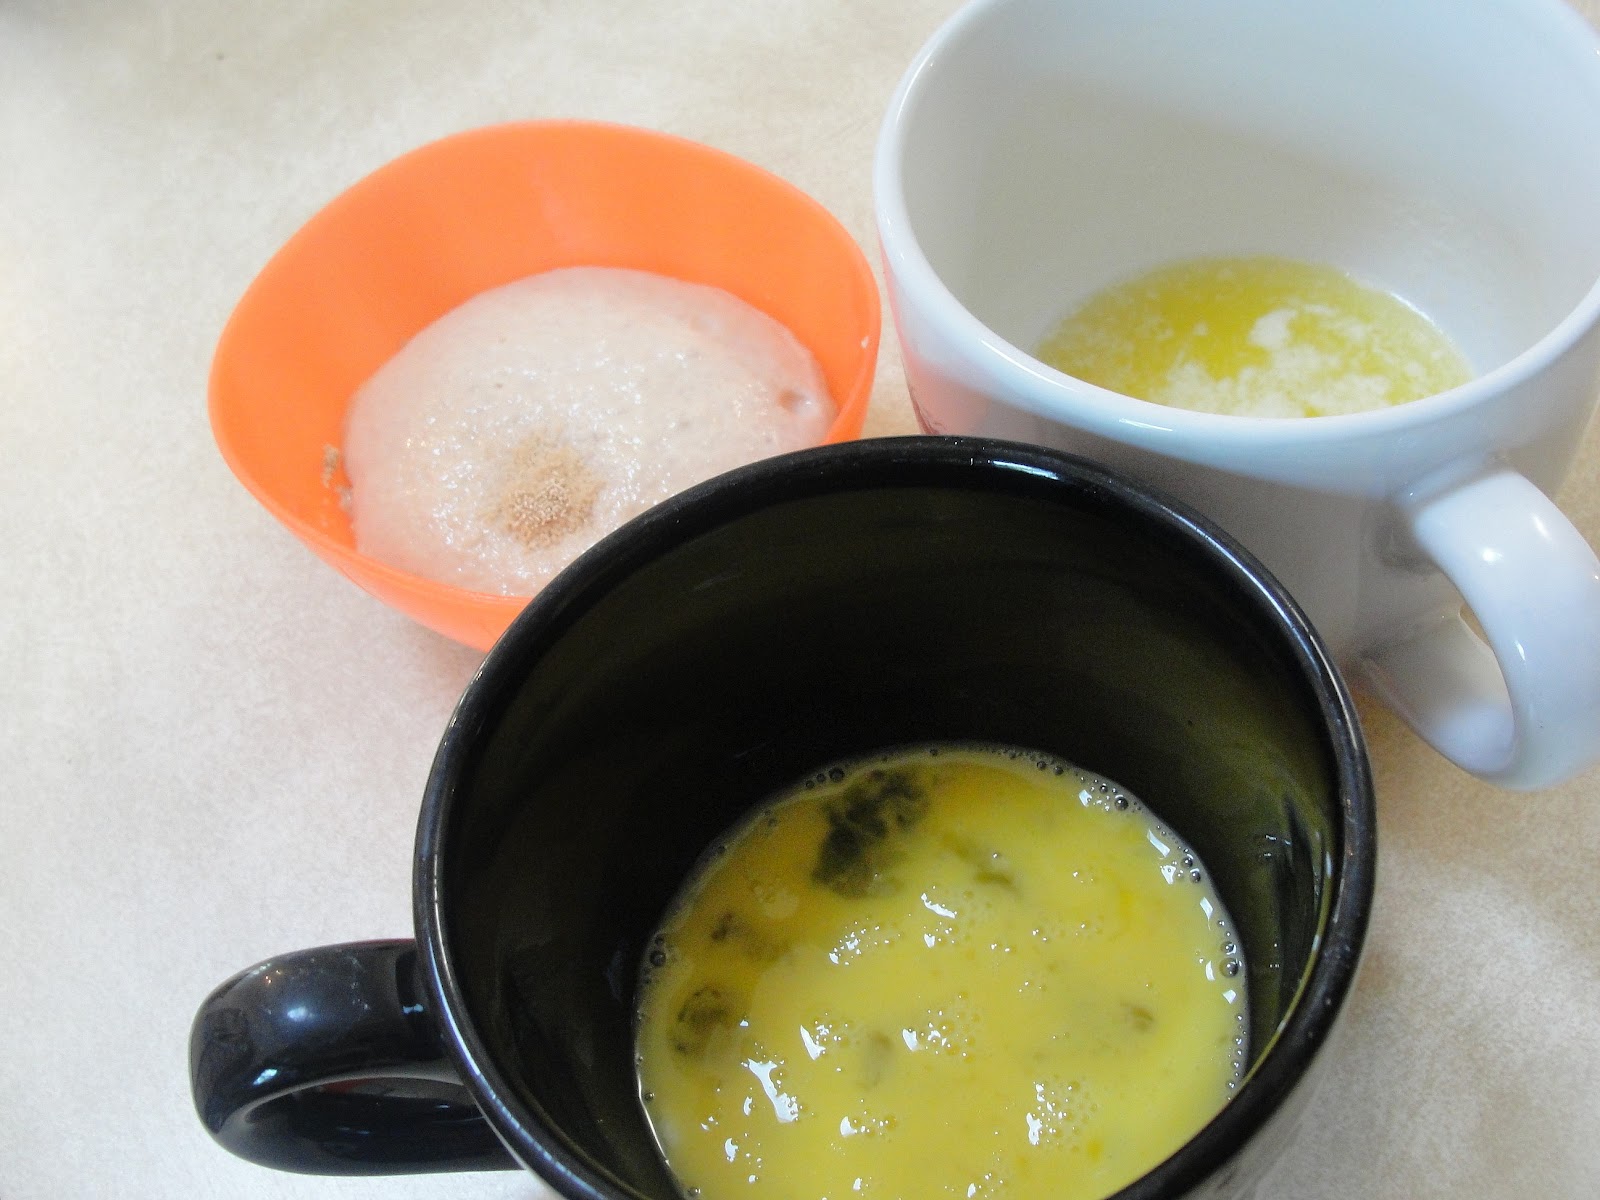
The dough comes together pretty easily, but has  a few components, including activated yeast, melted butter and beaten egg, so it generates quite a few dishes.


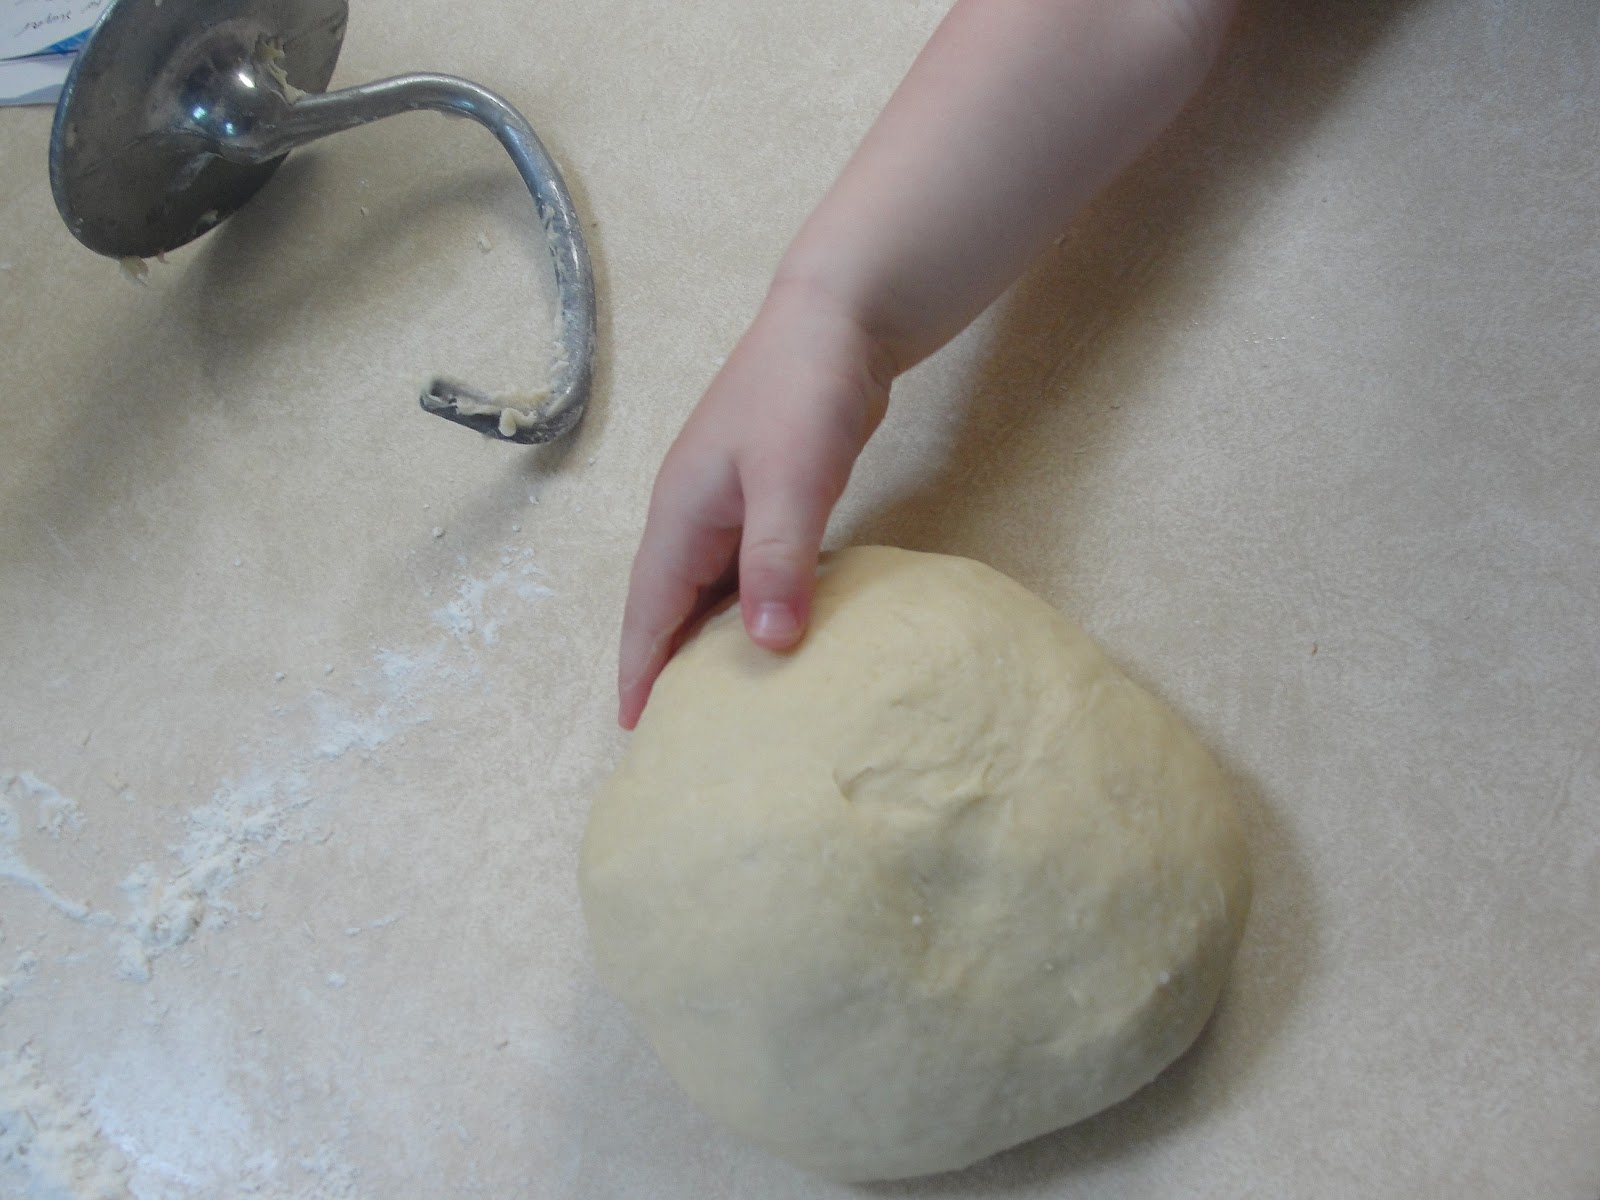
But after some heating, cooling, mixing and kneading, the result is a dough so soft and smooth that some little boy, who shall remain nameless, could not keep his hands off of it.


I set the dough aside to rise and we went about the rest of our morning.

Once little man went down for his nap, it was time to get down to the nitty gritty of this bread.

As a filling, I chose to go with chocolate. The traditional fillings for this type of bread include either nuts, which we avoid in our house due to allergies, or poppy seends, of which I am not a huge fan.  So I chose a sure crowd pleaser.

Chocolate.


To my cocoa powder, cinnamon, sugar and chocolate chips, I added boiled coconut milk and butter.


The hot milk melted the chips and the result was a smooth and pretty delicious looking and smelling chocolate spread that was all ready to go.

The dough had risen beautifully, so I carefully deflated it and turned it out onto a well cleaned and well floured counter. I used the two foot by three foot island in my kitchen.


And I rolled out that dough as thinly as I could.


Okay, I probably could have rolled it a little thinner, but I was starting to worry about time, so I stopped when I could see through it, and proceeded to spread on the delicious filling...


...until it basically looked like I'd covered the entire kitchen island with chocolate sauce.


And then we roll! It's a little tough to neatly roll dough that thin, but I made it work...


And then I coiled the rolled dough into a loaf pan.


Phew.

I then put the bread into the oven and (im)patiently waited. It came out just in time to pick little miss up from school, so I turned it out, on its side, on a cooling rack. Turned out so that it wouldn't gather condensation in the pan, creating a soggy bottom, on its side so that it wouldn't collapse on itself.

Which worked alright, but it did wind up slanting the side in a bit...

But that's okay, because it still swirled beautifully!!


It kind of reminds me of zebra stripes, with all of those random dark swirls...


But the most important thing is how tasty it is.


Seriously, I don't think this bread will last until the morning. We've eaten two thirds of it already. I probably should have made two. There is a decent chance that I will be making another one of these before the weekend...


Chocolate Povitica
(slightly adapted from The Gingered Whisk)

To Activate the Yeast:
1/8 cup warm water
1/2 teaspoon sugar
1/4 teaspoon flour
1/2 tablespoon active-dry yeast

For the Dough:
1/2 cup milk (the higher the fat the better) (I used coconut milk)
3 tablespoons sugar
1/2 teaspoon salt
1 egg
2 tablespoons unsalted butter, melted
2 cups flour (approximately)

For the Filling:
1/2 cup milk (the higher the fat the better) (I used coconut milk)
1/4 cup unsalted butter
1 teaspoon vanilla extract
1/4 cup sugar
1 teaspoon cocoa powder
1 teaspoon ground cinnamon
1/2 cup chocolate chips

To activate the yeast:
In a small bowl, stir sugar, flour, and the yeast into the warm water and cover with plastic wrap. Allow to stand for about 5 minutes.

To make the dough:

In a small saucepan, heat the milk up to just below boiling (about 180 F or 82 C), stirring constantly so that a film does not form on the top of the milk. You want it hot enough to scald you, but not boiling. Allow to cool slightly, until it is about 110 degrees.
In a the bowl of your stand mixer, mix the scalded milk, sugar, and salt until combined.
Add the beaten egg, yeast mixture, melted butter, and 1/2 cup of flour.
Blend thoroughly and slowly, add remaining flour, mixing well until the dough just starts to clean the bowl. Don't add too much flour at this point, you still want it to be fairly wet and sticky.
Turn dough out onto floured surface and knead, gradually adding flour a little at a time, until the dough is smooth and does not stick.

Place the dough into a lightly oiled bowl, cover loosely with a layer of plastic wrap and then a kitchen towel and let rise an hour and a half in a warm place, until doubled in size.

While the dough rests, prepare your filling:
In a medium bowl, mix together the sugar, cocoa, cinnamon, flour and chocolate chips.
Heat the milk, butter and vanilla extract to boiling.
Pour the liquid over the chocolate/sugar mixture and stir carefully until all of the chips have melted and the mixture is smooth.
Add the egg and continue to mix thoroughly.
Allow the mixture to stand at room temperature until ready to be spread on the dough.
(If the mixture thickens, add a small amount of warm milk.)

Once the dough and your filling mixture is done and cooled, it is time to assemble the bread.
Generously flour a large surface - a table, a kitchen island - or, if all else fails, clean and flour a sheet and spread it on the floor! You need space for this.
Roll the dough as big and thin as you can. You can use your hands to gently pull and stretch the dough, as well. As you work, try to lift the dough from the surface periodically to both help stretch the dough and to make sure that it is not sticking to your work surface. When you think you have rolled the dough about as thin as you can, try just a little more - this dough as very stretchy and you can probably get it just a bit thinner!
Carefully spread the filling over the stretched dough until it is covered.
Carefully (again!) roll up the dough, starting at a long end, jelly roll style until it is a long, rolled snake.
Once the dough is rolled up into a rope, gently lift it up and place it into a greased loaf pan in the shape of a “U”, with the ends meeting in the middle. You want to coil the dough around itself, as this will give the dough its characteristic look when sliced.
Once the dough is in the pan, cover it loosely with plastic wrap and preheat your oven to 350 degrees. The bread needs to rest for about 15 minutes, which gives your oven just about the perfect amount of time to preheat.
Once the bread has rested and the oven is preheated, put the pan in the oven and bake for 15 minutes at 350 degrees.
After 15 minutes at 350 degrees, lower the oven to 300 degrees and continue to bake for another 45 minutes. Check the bread after about half an hour to make sure it is not getting too brown. If needed, you can tent the bread with foil to keep the top from getting too dark.
When done, allow the bread to cool on a wire rack for at least half an hour.

Enjoy!


Monday, August 6, 2012

Bread Baking Day #53 - Swirly Breads!

A couple of months ago, I was perusing the Bread Baking Day fan-page on facebook, and I saw a call for hosts.

"That could be fun!" I thought.

"But what in the world would I choose for a theme?" I then worried.

Pushing worry out of my mind, I sent an e-mail to Zorra, the awesome founder and organizer of the whole thing, and volunteered.  And, much to my surprise, she agreed!

As Bread Baking Day has been around for a while, coming up with a theme was a little tricky.  There have been many, many, MANY beautiful and creative breads baked over the last 52 months, with all kinds of star ingredients and for all different kinds of occasions (to see the full line up, check it out here).

Which reminds me - did you see the beautiful French breads baked last month? Check out the roundup on host Cinzia's blog, Cindystar.

So what's new, different, yet fun to bake, eat and see?

Swirly bread.

What the heck is swirly bread?

It's any bread that, when you cut into it, there's some kind of swirl or pattern.  Marbled or rolled, cinnamon buns or povitica. Maybe you'd prefer to make a filled challah, where the filling creates a fun swirl when you cut the loaf. Or perhaps a cinnamon raisin bread, with a beautiful swirl of flavor throughout the loaf.  Sweet or savory, breakfast or dinner - the choice is yours.

The rules are as simple -
  1. Bake a yeasted (commercial or wild yeast), swirly bread before the end of August.
  2. Post your bread, including the recipe, on your blog, and include a link back to this post. (Feel free to use the BBD#53 image in your post, too!)
  3. If your post is in another language, please include an English version of the recipe.
  4. When you are done, e-mail me at cmomcook@gmail.com with BBD#53 in the subject line.  Your e-mail should include the following:
    • Your name (as you want it displayed in the roundup)
    • The name of your blog and the blogs main URL
    • The name of your bread and the link to the specific post (permalink)
    • Where you are from
    • A photo of your bread
Please send me your e-mail by September 1st, and I will post the round-up on September 5th. I will also create a Pinterest board of all of the beautiful swirly breads.  I'd be happy to e-mail you when the round-up is posted - just let me know in your e-mail that you'd like me to do so.

I can't wait to see all of the swirly deliciousness you come up with!

Sunday, July 22, 2012

French Fougasse

I love having an excuse to try something new. I mean, it's not like I need much of an excuse to cook or bake, but having an actual excuse for it is nice once in a while! 

When I saw the theme for this month's Bread Baking Day, I was torn for a bit.  The theme was France. Now, I am not French, and I don't claim to know much about France. In fact, I know embarrassingly little about France. So my first thought was croissants. Or Pain au chocolate. Or brioche. All of which are absolutely delicious. And all of which I have tried my hand at, in one form or another, before.

So I turned to my trusty friend Google to try to come up with some new ideas. And that's when I saw the fougasse (foo-gahz), sometimes referred to as ladder bread due to its interesting shaping.

I started looking for fougasse recipes, but they were all very different. While not all of the recipes that I found followed this rule, I did see that many trusted bakers feel that a lean dough (one that does not include oil or some other fat) makes for the best results.  I was about to decide on using Peter Reinhart's recipe for French bread from the Bread Baker's Apprentice when I found this recipe. It looked so basic and simple that I just had to try it.

The recipe is very straightforward.

Incorporate a little bit of yeast into a lot of bread flour.


Mix in a bit of salt, stir in some water, then, when it begins resembling dough, turn it out onto your work surface.


To knead this bread, I am sure you could use a stand mixer with a dough hook, but the recommended method was actually one of stretching the dough out and folding it over itself. Repeatedly.  Despite the appearance of the "dough" in its barely incorporated state in the photo above, this dough is actually very wet (has a high hydration level), so this method of kneading is very effective.  And provides the baker with a bit of exercise. After a while, the dough begins to come away somewhat cleanly from the counter and becomes a bit less sticky. That's when you know you've done well.


No flour was added to the dough during the kneading - you don't want to mess with the hydration. The flour you see there was just sprinkled onto the work surface at the last minute so that the dough could be shaped (somewhat) into a ball and transferred to a bowl to rest.


The recipe said to allow the dough to rest for "at least" one hour. As we were pretty busy in the kitchen, ours rested for two and a half hours. And it seemed to have been a very productive rest for the dough!


The dough is than poured out, carefully, onto the work surface once again, where it is divided and shaped. I used half of the dough, which I carefully pressed into a vaguely rectangular shape with my hands on a cornmeal-dusted-parchment-lined cookie sheet, to create what seems to be the most traditional shaping of a fugasse. One cut through the center...


Surrounded by three diagonal cuts on each side.


The cuts are stretched a bit and the bread goes into a very hot oven.

While bread number one was baking, I divided the second half of the dough into two smaller portions and shaped them into triangles, each with three cuts.

I brushed each of these breads generously with olive oil, then sprinkled on seasonings - one was sprinkled with Herbes de Provence, one with coarse salt.


Then the first bread came out of the oven.


As soon as he saw it, little man said "wow!"

Then the other two baked.

The salted bread:


And the herbed bread:


I have to say, these had quite the fun look to them.

The plain one actually made me think that I should make these around Halloween time.. I mean, doesn't that look almost jack-o-lantern-y??


I definitely think we are going to always brush the tops with oil from now on - it gave the bread a really nice color, not to mention a bit of extra crispness to the crust.


But, most important, the taste test.

Daddy and little miss told me that this is the best bread that they have ever tasted.

Not that I have ever made - that they have ever had. Ever.  Now that is BIG praise.

Little miss said "Umm, mommy, I don't think these breads are going to last very long..."


And she was right. They didn't.

I will definitely be making this again.


(This post has been submitted to Yeastspotting, of the Wild Yeast blog)

Fougasse
(from J's Kitchen)

500 grams bread flour
5 grams active dry yeast
10 grams salt
375 ml water

Stir yeast into the flour until evenly distributed. Stir in salt, then water, and mix until the dough begins to form.
Transfer the dough to a clean work surface. Continue mixing/kneading the dough by stretching it out and folding it over onto itself repeatedly and from each direction. Continue working the dough until it comes away cleanly from the work surface and is not (or, for me, is less...) sticky.
Move the dough to a floured area of your work surface, and shape the dough into a ball (as best as you can - it is still a wet dough). Transfer the dough into a lightly oiled (large!) bowl, cover it with a tea towel (or plastic wrap) and allow it to rest for at least one hour.
After the dough has rested, turn it out (carefully) onto a floured work surface. Generously flour the top of the dough, then cover with a tea towel and allow it to rest for another five minutes or so.
Preheat your oven as high as it can go (500 degrees F, for me...)
Using a plastic scraper (or spatula, or whatever tool works for you), divide your dough as desired (depending on the size you want your finished breads, cut it into more or fewer pieces).
Make your cuts in the dough all the way through the dough (though not to the edges) to create the desired design in the dough. The traditional pattern is one long cut surrounded by three diagonal cuts on either side of it.
If desired, brush your shaped loaves with olive oil and sprinkle with seasonings to taste.
You can bake your bread either on your pizza stone (shape the bread on a well floured/cornmeal-covered pizza peel and transfer it to the hot stone) or on a baking sheet that has been lined with parchment and sprinkled with cornmeal.
Bake the bread for 10-12 minutes, until golden brown.

Enjoy!

Friday, June 22, 2012

Sourdough Beer Bread

Every month, there is a very cool online bread baking event, aptly called "Bread Baking Day." Each month, a host chooses a theme, and food bloggers all over the world interpret that theme into a yeasted bread of their choice.  And the themes are creative.

But I somehow seem to miss it each month. I have no idea why.

So while I may have only participated once before (with these chocolate brioche buns), I love the creativity I see every month, and couldn't wait to participate this month.

Especially when I saw this month's bread theme, as posted here by our host. Beer. And, as it's the 5th anniversary for BBD, what a better time to jump in?

We are not big drinkers in our house, but I love beer bread. The challenge, however, is that most beer breads are quick breads. Meaning no yeast is involved. And one of the criteria for BBD breads is that yeast has to be involved, whether commercial or wild (sourdough).

So of course I chose to go with sourdough.  I found this recipe and was ready to go.

And the recipe is so simple, too. All it takes is some sourdough starter.


And some beer.


Mix those together with a bit of sugar.


Then add flour.


Then knead. And knead. And knead. Until you have a nice ball of dough.


Now, the recipe calls the dough to rise for an hour and a half at this point. But, this being sourdough and, well, me being busy this month, I gave it some extra time. I let it rest for three hours. At which point my ball had lost all form and taken over my bowl.


This dough was then kneaded again, then shaped into a loaf.


As you can see, "shaping" can be taken kind of loosely here...

Then it rises again. The recipe says 45 minutes or until doubled in size. 45 minutes was not nearly enough, so I just let it sit until I was ready. Another three hours.

But it rose really, really nicely.


45 minutes in the oven, and it's finally done! But at that point, it was super late and the lighting was terrible.


So I waited until morning to really dig into it.

And oh my gosh, it was totally worth the wait!


This bread sliced so nicely, had a great crust, a delicious, airy crumb, and a really nice flavor. Daddy described the flavor as "sweet and hoppy," which kind of makes me think more of a bunny than a bread, but he really is right.


The beer and sourdough work together well, but the sugar adds just the right touch of sweetness to the mix.

My favorite way to eat this bread, so far, by the way, is warm, spread with butter and drizzled with honey.


YUM.


Sourdough Beer Bread
(from About.com's Bread Baking section)
*I am providing here a half recipe, what I used, to make a single loaf

6 ounces (half of a can) of beer at room temperature
1/2 cup sourdough starter (100% hydration)
1/4 cup sugar
about 2 1/2 cups bread flour

In a large bowl, combine the beer and sourdough starter. Stir in the sugar until it dissolves. Mix in enough flour until a soft dough forms, then turn the dough out onto a lightly floured surface and knead it for about 10 minutes.

Place the dough into an oiled bowl and turn it to coat all sides. Cover the bowl with plastic wrap, then allow the dough to rise for at least an hour and a half (I gave the dough three hours at the point) in a warm, draft free place.

After this rise, turn the dough out onto a lightly floured surface and knead it again for about five minutes. Form the dough into a loaf and place it into a greased loaf pan. Cover again and allow to rise for at least 45 minutes, until doubled in size. Again, I gave my loaf three hours for this rise.

Once you are ready to bake, preheat the oven to 350 degrees, then bake the bread for 45 minutes, or until  the bread sounds hollow when you tap on it. Remove the loaf from the pan and allow it to cool on a rack.

Enjoy!
Related Posts with Thumbnails