Thursday, January 27, 2011

January Daring Bakers' Challenge - Biscuit Jaconde Imprime/Entremet

The January 2011 Daring Bakers’ challenge was hosted by Astheroshe of the blog accro. She chose to challenge everyone to make a Biscuit Joconde Imprime to wrap around an Entremets dessert.

If you read all of that and still have no idea what this month's challenge was, well, you aren't alone. All I knew for sure when I saw the title of the challenge, before reading the details, was that it sounded fancy. Because anything with a French title sounds pretty fancy to me...

Then I read the challenge. Hoo boy, it wasn't just fancy, but it sounded pretty complicated! Turns out, a jaconde imprime is a thin sponge cake with a decorative design baked into it, and an entremet is an ornate layered dessert, usually in some kind of mold. Together, it's that layered dessert wrapped in that decorative sponge cake.

I am going to be honest, I considered sitting this one out. It looked so much fancier than anything I have ever done, and was a little intimidating. With the newborn in the house, I just wasn't sure I'd be able to do it. But I decided to go for it, and I'm glad I did.

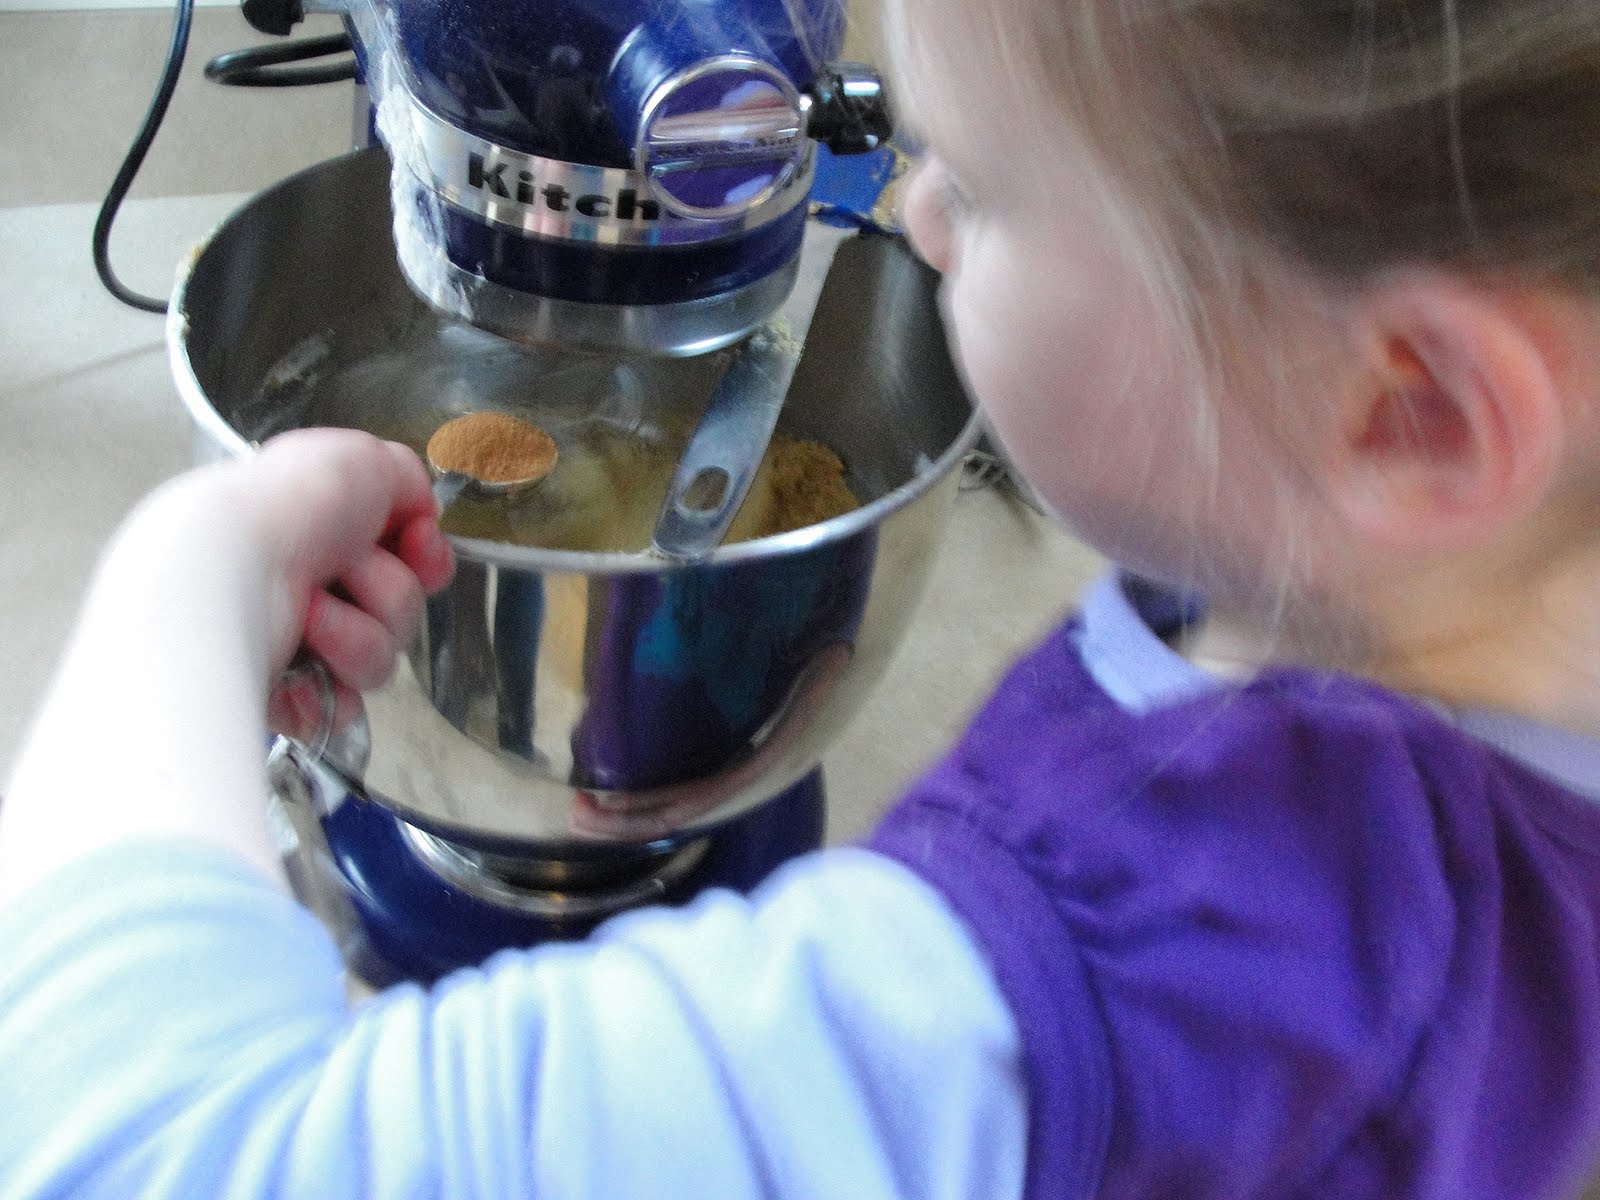
Little miss was glad to help, and there was definitely lots for her to help with. The jaconde imprime required two different batters - one for the sponge, and a thicker paste for creating the decorative pattern. Little miss helped me measure, pour, mix and stir the ingredients for both batters.

Once both batters were prepared, it was time to create my pattern. There are two methods for creating the pattern - the first involves pouring the colored (or, in my case, chocolate - I didn't want to use food coloring) paste onto a parchment lined baking sheet and using a pastry comb (or some other implement) to scrape a design into it. The other is to pipe the paste onto the parchment into a design. While my piping skills leave much to be desired, I decided to go for it anyway, and try to make a pattern specifically for little miss, who is very into pixie fairies and magic right now. Using a line drawing of a fairy from a Harold and the Purple Crayon book as inspiration, I set to work piping the chocolate paste onto my parchment. Little miss was happy to play photographer while I had my hands full... she takes good pictures for a four year old!

Anyway, once the design was piped onto the parchment, the pan was put into the freezer to allow the pattern to harden for the next step - pouring the sponge batter over the design. The pans were then put into the oven where they baked up really quickly. The recipe indicated a baking time of 15 minutes, but many of the other bakers mentioned that their jacondes baked up much more quickly, so I kept a very close eye on it as it baked. Good thing, too, because it was completely done in six or seven minutes!

The result? I have to say, I was pretty impressed - and I am not one to be overly impressed with my own work! How cool is that?? I made two pans - the one with the fairy, and a second of all stars, and I think they looked pretty cool, if I do say so myself.

Then I realized that I had another challenge ahead of me - constructing the full dessert. I had planned to use a springform pan, use the sponge as the wrapper, and have the outside of the dessert look like a pixie fairy casting spells (stars) around the outside of the cake. Unfortunately, I made my design (well, the fairy, really) too tall for the sides of the springform pan, and, even with the two pans of jaconde sponge, the circumference of my pan was too big for the length of the two cakes... so it took a little bit of creativity to piece together my finished dessert. Between the two cakes, I made three strips of stars, and cut out the fairy to use to decorate the top of the finished dessert...

Astheroshe gave the bakers complete freedom to choose the fillings for the entremet aspect of this challenge, so I don't have much detail (or any pictures) of that part of the process... but in case you are curious, I made a graham cracker crust, and filled my jaconde wrapper with a double layer of rich, no-bake cheesecake - a bottom layer of plain cheesecake and a top layer of chocolate cheesecake (with an extra sprinkling of graham cracker in between the two). Once again, the height of my jaconde wrapper proved to be a little bit off - the filling did not reach the top of the jaconde, as I'd hoped, but I still think it looked pretty cool.

Astheroshe, thank you so much for this challenge. I had never heard of these baking terms or techniques before, and was certainly intimidated to give them a try, but I am so glad that I did, and I have you to thank for it. This technique is really great, and I am really looking forward to trying it again - I learned so much each step of the way and know that they next time, I will be able to apply all of that to make an even better dessert.


To see the amazing, impressive and truly artistic creations crafted by the other Daring Bakers, check them out here.

Friday, January 14, 2011

January Daring Cooks' Challenge - Cassoulet with Confit

I know I always seem to talk about time flying, but it really, really does! This month is the one year anniversary of my blog, and marks my one year anniversary with the Daring Kitchen. The year has been exciting and busy on all fronts, and I am really excited to start this second year of Daring Cooking, blogging, and sharing a bit of my family life with you.

All that being said, I am actually amazed to be posting right now. The addition of little man into our family has been great, but the transition from having one very self sufficient preschooler to having that same preschooler and a newborn is pretty tricky. And tiring.

But I could not skip this challenge. Not that I ever want to skip a challenge, but I really didn't want to skip this one. Why? Because it was hosted by one of the Daring Kitchen members that I really, really respect, one whose blog is on my blog-roll on the right hand side there. And she and her awesome co-host chose something that sounded so interesting to me, I just knew that I would have to figure out how to get this done.

Our January 2011 Challenge comes from Jenni of The Gingered Whisk and Lisa from Parsley, Sage, Desserts and Line Drives. They have challenged the Daring Cooks to learn how to make a confit and use it within the traditional French dish of Cassoulet. They have chosen a traditional recipe from Anthony Bourdain and Michael Ruhlman.

Confit is a way of preserving foods (meats, vegetables) by slow-cooking them in oil. Cassoulet is a slow-cooked French stew with beans. Together, they make for a complex and delicious sounding challenge.

When I first read the challenge, I thought that there was no way I would be able to participate - the traditional recipe that they chose involved a lot of complicated ingredients and a LOT of time - at least three days of preparation to make it fully according to the directions. But where there is a will, there is a way. And where there are alternate recipes and options, crazy moms of newborns will complete cooking challenges.

What follows is what will probably be the least-wordy description of a cooking process you'll ever see from me, but hey - at least I am posting! :)

For starters, I chose to make chicken, rather than duck confit, using chicken thighs. The thighs were seasoned and a clove of garlic was placed on each one:


The meat was then drowned in olive oil:


The pan was then covered and placed in a 200 degree oven overnight. 16 hours later, this is what the chicken looked like:


Yum. And I think I ate most of that garlic right off the top rather than leaving it for the cassoulet. Oops.

For the cassoulet, I pretty much followed the recipe suggested by the hostesses for a vegetarian cassoulet, with only a couple of minor variations. I didn't have leeks, which the recipe called for, so I just omitted them, but I added onions and potatoes. I also didn't have white beans, the beans called for in the recipe, so I used what I had - pinto and kidney beans.

The vegetables were roughly chopped:


They were then cooked over medium heat in the soup pot (and for good measure, I actually used some of the oil from the chicken confit for cooking my veggies), at which point the beans were added to the pot, along with water to cover everything:


Then everything simmered and stewed and came together quite nicely. I then shredded the chicken confit and added that right in to the pot:


I then let it simmer some more to combine all of the flavors and to allow the stew to thicken up. Before serving, I spooned the stew (well, as much as would fit) into a casserole dish and topped it with lightly seasoned bread crumbs, then placed that under the broiler for a couple of minutes, until at last we had this:


This was served with a side of freshly baked bread, and was absolutely delicious. We actually had the leftovers for dinner a couple of days later, and it reheated beautifully and tasted just as good if not better the second time around.


Jenni and Lisa, thank you so much for this challenge - I will definitely be making this again, and hopefully trying the full version of the recipe, too. I am so glad that I didn't miss out on this one!

To see the delicious looking concoctions created by the other Daring Cooks, check them out here.

Monday, January 10, 2011

The Bun is Out of the Oven!

Sorry for the radio silence, but things around the C-Family household have been quite hectic!

Two weeks ago we welcomed little man to the family. He is a wonderful baby, and little miss is a fantastic big sister.

We are getting back to "normal" around here - trying to settle in to the new non-routine of life with a newborn, and working our way back into the kitchen.

Thanks for your patience!

Thursday, December 23, 2010

December 2010 Daring Bakers' Challenge - Stollen

The holidays are a busy time in so many kitchens, and ours is no different. From cookies to pies to gingerbread houses, the month of December always
keeps our oven going and the flour flowing. While we have several standards on our holiday baking rotation, this month's Daring Bakers' challenge added a new recipe to this family's holiday baking arsenal.

The 2010 December Daring Bakers’ challenge was hosted by Penny of Sweet Sadie’s Baking. She chose to challenge Daring Bakers’ to make Stollen. She adapted a friend’s family recipe and combined it with information from friends, techniques from Peter Reinhart’s book.........and Martha Stewart’s demonstration.

I have heard of stollen before, as my mother in law is a huge fan, and there is always a store-bought stollen in the house when they become seasonally available. For some reason, I have never been tempted to try it, though. Maybe it is how dense the bread looks, maybe it is the candied fruit (of which I have never been a fan), or maybe it's some strange unknown reason, but I just never had the urge to try a piece, even when it was right in front of me. So I was excited for this challenge on behalf of my mother in law - I figured I would make the stollen and give it right to her! A completed challenge and a holiday gift all in one - what could be better?

As I soon learned, this stollen was better!!

The recipe was a little bit involved, but very straightforward. While there were many steps (and many dishes!) involved, and while the process takes two days to complete, it was not overly complicated.
The first step for me was choosing what fruits I would use in place of the standard candied fruits that are usually involved in a traditional stollen. I didn't stray far, opting to go for dried fruit rather than candied. I chose raisins, dried cranberries, chopped dried apricots and chopped dried pineapple. The recipe calls for the fruits to be soaked in rum, which I am sure is delicious, but wasn't going to happen here (what with the four year old and being, at least at the time that the stollen was prepared and that this post is being written, pregnant), so I chose to soak my fruits in some delicious passionfruit-aloe juice that I had in the fridge. While the fruit soaked, I set out my other ingredients to prepare to make the dough, including the eggs and yeast (which is blooming in that little bowl). On a burner over low heat, butter was melting into milk, and in the bowl of my mixer, my dry ingredients were whisked together. As I said - many dishes involved in the preparation of this dough.
It was interesting to watch this dough come together. I let my KitchenAid mixer, with the dough hook attachment, handle the majority of the kneading, which was a big help. The dough did keep creeping up over the collar of the dough hook, which slowed the process considerably, as I had to keep stopping the machine to scrape it down, but the resulting dough was beautifully smooth and speckled throughout with the dried fruit. It was at this point that this ball of dough was moved to the refrigerator to have a slow-rise overnight. Peter Reinhart generally explains the cold-rise as allowing the flavors to develop better than a quicker, warmer (room temperature, usually) rise. I always thought that the warmer temperatures encouraged a better rise, but I wholly trust Peter Reinhart, so did not worry too much.

The next morning, I was amazed to see that my little ball of dough had risen amazingly despite the cold of the refrigerator. I took the bowl out of the refrigerator to allow the dough to warm a bit so that it would be easier to work with, then little miss and I got down to business turning our beautiful ball of dough into a stollen. As usual, little miss's favorite part of most bread-baking tasks is punching down the dough, and this time was no different.

The next several steps are different from other breads, but help to create both the texture and shape of the stollen, and are best shown in pictures.

The deflated (ie: punched down) dough is rolled out into a very large, very thin rectangle:


This rectangle is then rolled up into a long, thin cylinder:


This cylinder is then shaped, with the help of a bowl, into a circle (we are making a special, holiday shaped stollen here... you'll see!):


(and you can see here that our rolling job wasn't quite as even as we thought, making the ends thinner than the middle... something to work on...)

Once the bowl was removed, the circular stollen was further shaped with the help of some kitchen scissors:


The result? A wreath shaped bread, which, after proofing at room temperature for two hours, was ready to be baked:


While the wreath baked, I prepared the ingredients for the final steps of the process. The baked stollen, right after being removed from the oven, is covered in a generous layer of melted butter, then triple coated in powdered sugar. As you can imagine, little miss thoroughly enjoyed watching me make it snow on the stollen, and enjoyed even more helping me "clean" the extra powdered sugar from the counter top.

Now, remember how I mentioned way up at the top that I'd never been tempted to taste stollen? The smell in my kitchen at this point not only had me tempted, but had me seriously impatient to cutting into this fresh loaf. So we called my mother in law and asked if they would be up for visitors... as long as we promised to provide an afternoon snack. They agreed, and we soon had our afternoon tea.

To say that I was pleasantly surprised by this stollen would be an understatement. The bread had a deliciously thick crust but smooth and light crumb (interior texture). The fruit added the perfect amount of sweetness and flavor to the bread, and the powdered sugar, well, that was just fun! Everyone asked for seconds (little miss asked for thirds!) and everyone kept a big chunk of it to serve as breakfasts and snacks throughout the week. If that's not the proof of an awesome recipe, and thus awesome challenge, I am not sure what is.


Penny, thank you so much for this challenge. I am pretty sure that I would not have tasted stollen, much less tried my hand and making it, without this challenge, and now I am excited to try different variations and to incorporate this recipe into my annual holiday baking.

To see the other beautiful and delicious stollen prepared by my fellow Daring Bakers, check them out here.

Sunday, December 19, 2010

Gingerbread Overload!

Okay, when I said that December was gingerbread month for me, I wasn't exaggerating. At all. This past week was extremely gingerbread heavy for us, and there are plenty more recipes that I want to try... time permitting.

This past week saw a lot of this:


That would be little miss measuring ingredients for gingerbread cookie dough.

And we also did a lot of this:


That would be little miss giving her rolling pin a very good workout.

You see, we had two big gingerbread projects this week.

The first was for little miss's ballet class, where they had a holiday celebration and cookie exchange.

As soon as little miss heard that there would be a holiday cookie exchange, she immediately requested gingerbread. And who was I to disagree? I have a go-to gingerbread cookie recipe, and I am almost embarrassed to admit that it is the recipe from the first bottle of molasses I bought... but it has worked and gotten more rave reviews than any other gingerbread cookie recipe I have tried, so now it is my standard.

I wanted to try to think of a way to make these cookies special both for the holiday and for a group of four-year-old ballerinas, so here's what we came up with. Gingerbread girls. Dressed in tutus. Shiny, pink, sugary tutus. Little miss helped with the rolling and cutting, I piped the tutus, and little miss handled the sugar. I am no artist, but even I think these came out pretty cute. And the girls at ballet seemed to like them, too, so we were pretty pleased.


Our second gingerbread project this week was to prepare our second annual gingerbread house. I chose the Pixie House pattern from this site, as little miss has quite a thing for pixies and fairies these days, and we set to work. We actually use a different recipe for our gingerbread house than we do for our cookies. The recipe that we use for cookies includes baking powder, and bakes up beautiful and a bit puffy, and has a nice soft texture. Fantastic for a cookie, but not exactly what I would call construction-grade. For our house, I use this recipe, as it is specifically given in reference to building a house. I made a half batch this year, as I knew that this house would be a bit smaller than the one we made last year, and it actually worked out to be exactly the amount of dough we needed for our pattern.

A gingerbread house is a multi-day process, which is sometimes a little tough for an impatient preschooler, but little miss was actually really good about it. Day one involved making the dough and baking the pieces.
Day two is construction day, involving lots of royal icing, several soup cans, a lot of patience and quite a bit of mess (well, for us, anyway). Little miss's favorite part is positioning the cans to hold up the walls while they dry. My favorite part is when I see that it doesn't collapse as the royal icing sets.
Day three, though, is the favorite for everyone - decorating day. The decorating process begin with little miss repeatedly going through every single piece of candy that we have in the house and choosing which would be appropriate decorations for our gingerbread house. This process is actually repeated many times, until the final decorating day arrives. Once the candy is chosen and actually pulled aside, I try to let little miss handle as much of the decorating work as possible, including piping out the royal icing and choosing candy placement. Every once in a while I have to make a suggestion or two, based on candy weight (as in: "umm... I don't think that heavy candy will stay up on a vertical wall, no matter how much icing you put on it..."), but otherwise, little miss has total creative license.
The final result is a whimsical, fun house which will never win a prize in any kind of contest, but shows the true spirit of the baker and designer - that we are learning and trying and having fun with it. One day I will get better at making these, but for now, I am proud of our little house. As is little miss, who, as it so happens, took the final picture posted here. I think I have a budding food-blogger on my hands!

Tuesday, December 14, 2010

December Daring Cooks' Challenge - Poaching

Is it really the middle of December already? I can't even believe it. But the calendar doesn't lie and time keeps on rolling, so here we are - time to reveal the December Daring Cooks' Challenge, which was awesomely hosted by Jenn from Jenn Cuisine and Jill, one of our non-blogging members.

Jenn and Jill have challenged The Daring Cooks to learn to perfect the technique of poaching an egg. They chose Eggs Benedict recipe from Alton Brown, Oeufs en Meurette from from Cooking with Wine by Anne Aillan, and Homemade Sundried Tomato & Pine Nut Seitan Sausages (poached) courtesy of Trudy of Veggie num num.

I will admit that when I first read this challenge, I was not 100% excited. Not because it didn't sound good - it sounded great! I have never poached an egg before, have never tasted Eggs Benedict before, and found it really interesting that the challenge was focused on a technique rather than a specific recipe. So what was my issue? Well, poached eggs aren't exactly on the go-to diet during pregnancy. In fact, most doctors and nutritionists agree that, when pregnant, one should only consume eggs that are fully cooked through. And any chef you speak with will agree that a perfectly poached egg has a runny yolk. What is a pregnant woman to do?

Well, first I considered all of my other poaching alternatives - as poaching is a technique for cooking, it is not at all limited to eggs. One can poach meat, fish, fruits, vegetables - the possibilities are limitless. I found some really great recipes for poaching fruit, and even went and bought pears, full well intending to poach those in a sweet vanilla syrup as a dessert dish. It sounded delicious... and yet... something was holding me back. I really wanted to poach an egg, as that was the original intention of the challenge.

So I finally decided that I would go with eggs, but I would skip the Eggs Benedict until I could eat it properly - runny yolks and all. After much searching, I happened across a delicious looking recipe for eggs poached in tomato sauce. Then, after a bit more searching, I came across another variation of that recipe on a different site. After seeing both versions, I was convinced that this was the dish for me, just with what experts might consider slightly over-poached eggs in place of the perfectly runny ones.

The first step in each recipe was to prepare a tomato sauce. I opted to use canned crushed tomatoes as my base, and to season them up to my family's tastes. To start with, I sauteed an onion. There is nothing better than starting a recipe with sauteeing an onion - makes the whole house smell so good and sets a great tone for whatever you are making. Once the onion was ready, I poured in the crushed tomatoes and started seasoning my sauce as it cooked. A little bit of garlic powder (I know, I was disappointed with myself for not having fresh garlic, too - it won't happen again...), some oregano, a pinch of salt, some fresh ground pepper, and a dash of sugar for good measure. Seasoned and stirred, I let the sauce simmer for about 40 minutes, and was then ready to get to the main event.

Using the back of my spoon, I tried to make little wells in my sauce, but they didn't really hold all that well... So I knew I had to move quickly. And the trickiest part, in case you were curious, was figuring out how to photograph this process as I went. Because once I had my almost imperceptible well in the sauce, it was time to crack an egg into said well. A little tricky to do, very difficult to photograph... or at least photograph well... Oh well. I opted to make three eggs, even though the pan and amount of sauce could have handled four. Once all three eggs were cracked into the very-lowly-simmering sauce, I put the lid on the pan to keep the moisture in and then just waited. I wasn't sure quite how long it would take to first poach and then over-poach the eggs, but it was really interesting to watch the eggs cook in the sauce (the picture was taken through the clear lid of the pan - sorry it's a little cloudy). I tested the eggs for done-ness by carefully poking at the tops of the yolks to see how much they jiggled, and when it seemed that they were pretty solidly cooked, I knew it was time to plate them up.

To serve these, I toasted up nice, thick slices of homemade bread, melted a slice of mozzarella cheese onto each slice, then topped the cheese with an egg and a nice dollop of the sauce. With steamed, chopped spinach on the side, dinner was ready.

These were so delicious. So good, in fact, that even little miss, who claimed that night to not like eggs or red sauce (despite usually loving red sauce... you never know with four-year-olds...) allowed me to share some with her, and proclaimed it "Yum!!" So good, in fact, that I regretted, after the first bite, not making all four eggs that could have fit in the pan. So good, in fact, that after eating my serving, I snagged the one extra egg (I had one, daddy had one, little miss had leftovers from the night before after informing me of her dislike of eggs and red sauce, as mentioned above...) and served it up over a bed of spinach, rather than on the toast, and with a sprinkling of parmesan on top.

Jenn and Jill, thank you so much for this challenge. I very much look forward to trying the poached egg recipes that you shared with us for this challenge, and to trying my hand at poaching all kinds of different foods, from meats to fruits and everything in between. This was a great challenge, and I think that so many of us learned so much!

To see the delicious dishes poached by the other Daring Cooks, check them out here.

Sunday, December 12, 2010

Gingerbread Waffles

There are certain seasons that I associate with specific tastes and flavors, and it is so ingrained in me, that during those specific seasons, those flavors actually appeal to me more than any other, and more than any other time of year. During the summer, I will pick any recipe involving fresh fruit, no matter what other recipes are lined up next to them. During October and November, I will try any recipe calling for pumpkin. And in December, I will always choose gingerbread.

So it should be no shock that, while foodgawking recently, I was really drawn to several gingerbread themed recipes. The most intriguing to me, though, were these gingerbread waffles.

Today being Sunday (and my birthday...), I decided to have these as a special breakfast (well, brunch) treat. And, being the weekend, daddy and little miss were on hand to help out, which was a good thing, because this recipe called for lots of bowls and lots of steps - there was definitely plenty for everyone to do!

Little miss started out by mixing the wet ingredients - egg yolks, brown sugar, buttermilk (or my usual substitution of milk "soured" with vinegar) and molasses. Then, with a little help from daddy, she mixed in some melted butter.

While daddy and little miss worked on the wet ingredients, I pulled together the dry ones - flour, baking powder, baking soda and a whole assortment of the yummy spices that make gingerbread as flavorful as it is. I always love the look of all of the different shades of spices sitting together, not to mention how the whole mixture smells - YUM!

Anyway, once I whisked together the dry ingredients and daddy and little miss were done mixing the wet ingredients, it was time to mix the two together. As you can see, little seems to think that, when pouring from one bowl into another, the liquid being poured requires a helping step from the spoon... I haven't figured out if this does anything other than make the liquid being poured splash a bit, but she seems to think that is a vital part of the process...

Anyway, as the wet ingredients were being incorporated into the dry, there was one last ingredient to prepare (read: one more dish to dirty). The egg whites associated with those previously mentioned yolks were whipped up into stiff peaks, and then folded gently into the rest of the batter.

Now it was time for the waffle iron to do its job, and it definitely earned its stripes this morning!! Every other time I have made waffles, due to the size of my iron, the batter winds up making three or four waffles, maybe five if I am lucky... This batter made eight beautiful, soft, and fluffy waffles, and made the whole house smell absolutely scrumptious.

The only question left was how to serve these up. I wasn't sure if maple syrup was the way to go, since the waffles themselves were already chock full of delicious flavors already. So I opted to stay simple, and merely gave my waffle a dusting of powdered sugar and let the gingerbread flavor speak for itself. YUM.

Daddy and little miss, on the other hand, went a little fancier. You know, since it was a celebration... They busted out the whipped cream and cinnamon, and daddy even added some banana slices, and made some absolutely amazing looking delicacies.

These got rave reviews all around, and the leftovers will absolutely be enjoyed for breakfast tomorrow... or maybe even for dessert with a scoop of ice cream. With all of the steps and the resulting mountain of dishes, I will keep these for special occasions, but they will definitely be made again.


Gingerbread Waffles

1/2 - 2/3 cup brown sugar (depending on how sweet you want them)
2 eggs, separated
1 1/2 cup buttermilk
1/2 cup molasses
6 tablespoons butter, melted
2 cups flour
3 teaspoons baking powder
1 teaspoon baking soda
2 teaspoons ground ginger
1 1/2 teaspoons ground cinnamon
1/2 teaspoon salt
1/4 teaspoon ground cloves
1/4 teaspoon ground nutmeg

In a small bowl, mix together brown sugar and egg yolks until creamy. Stir in buttermilk, molasses and butter.

Into a large bowl, sift together the flour, baking powder, baking soda and spices.

In a clean glass or metal bowl, whip the egg whites with an electric mixer until stiff peaks form.

Add the liquid mixture in to the sifted dry ingredients and stir together. Carefully fold in the egg whites.

Cook according to the manufacturer's instructions for your waffle iron.

Enjoy!
Related Posts with Thumbnails