I am not sure if you remember, but earlier this year I finally tried my hand at homemade English muffins. Which are fantastic. And then I tried my hand at a different recipe for them. Which were different, but also delicious. I have been wanting to try more English muffin recipes, so I was super excited with this month's Sourdough Surprises choice!
The recipe is actually super easy. It just requires a little bit of advanced planning, as you have to make a specific starter (like a levain) the night before. But then in the morning, you're all ready to go with a healthy, bubbling base for your muffins!

I gathered together everything that I needed first thing in the morning, before taking little miss to school, so that I could get started as soon as I got back home.

Then the rest of the ingredients are mixed in, and enough flour is kneaded in to make a workable dough.

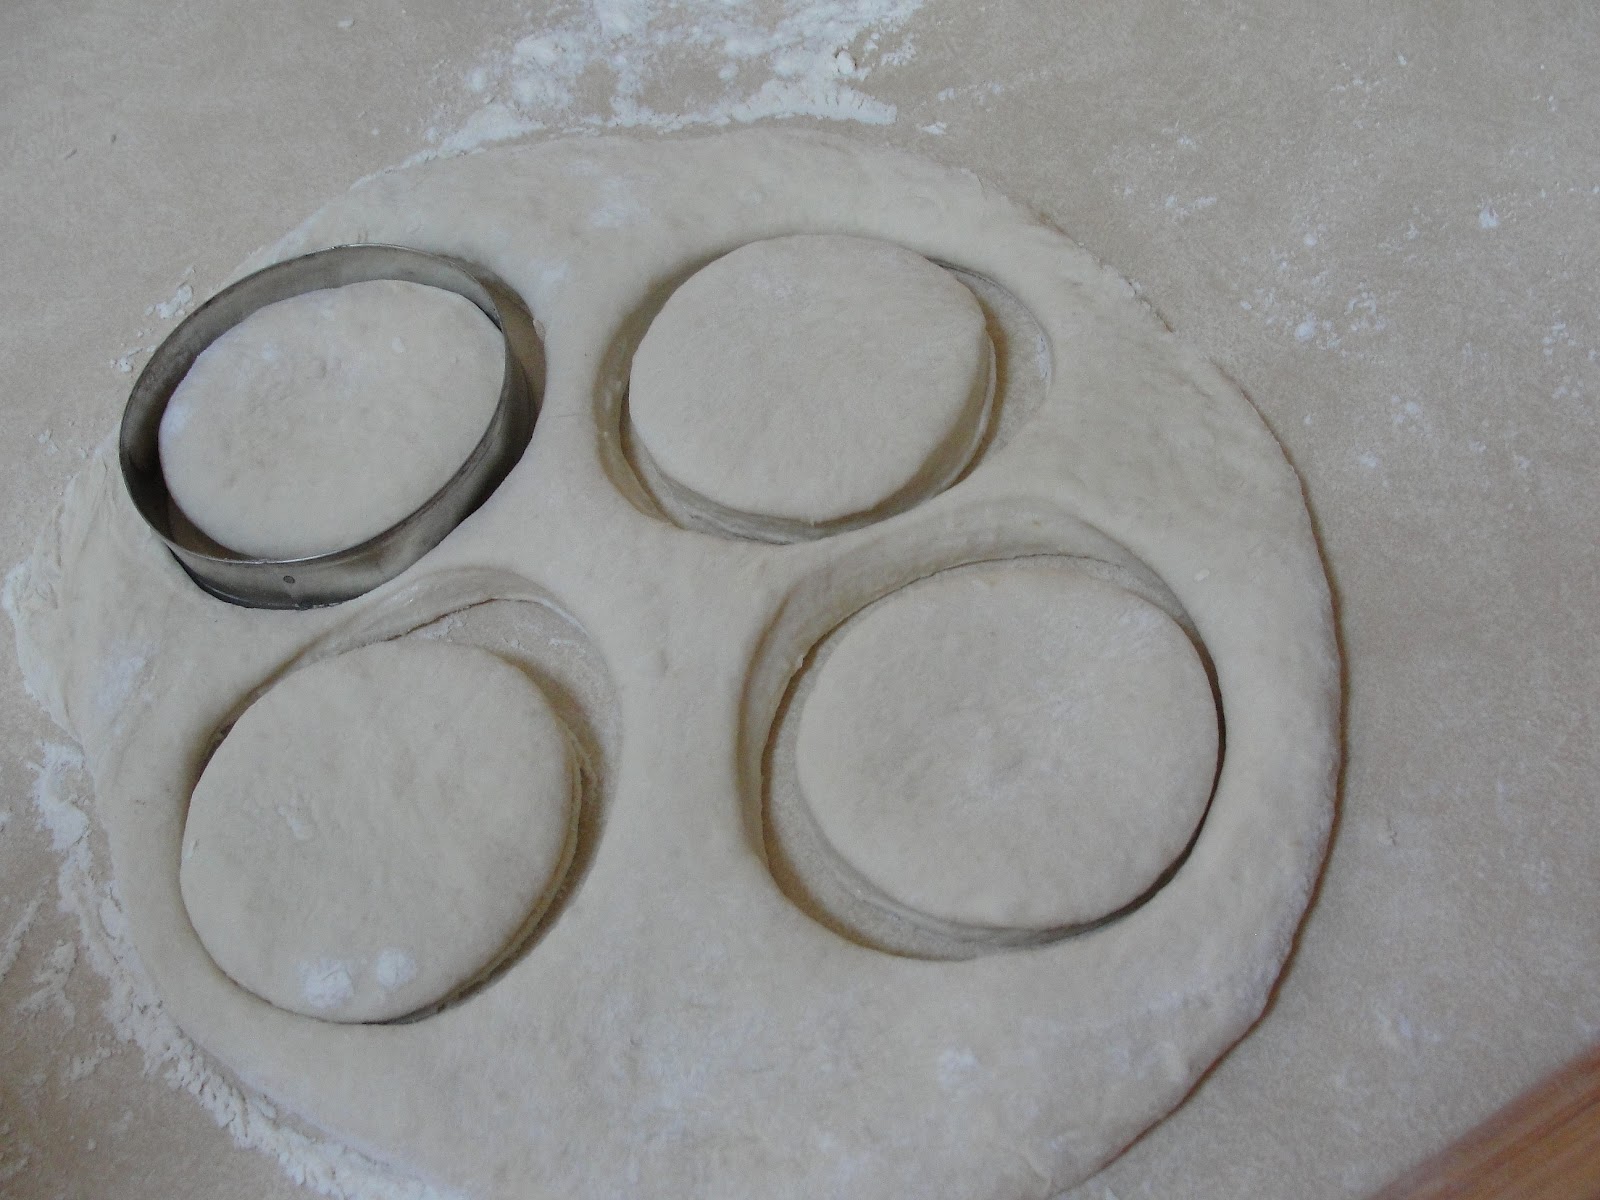
The dough is then rolled out and cut to shape. The recipe says to used a biscuit cutter, but I chose to use my actual English muffin rings. Seemed appropriate, no?
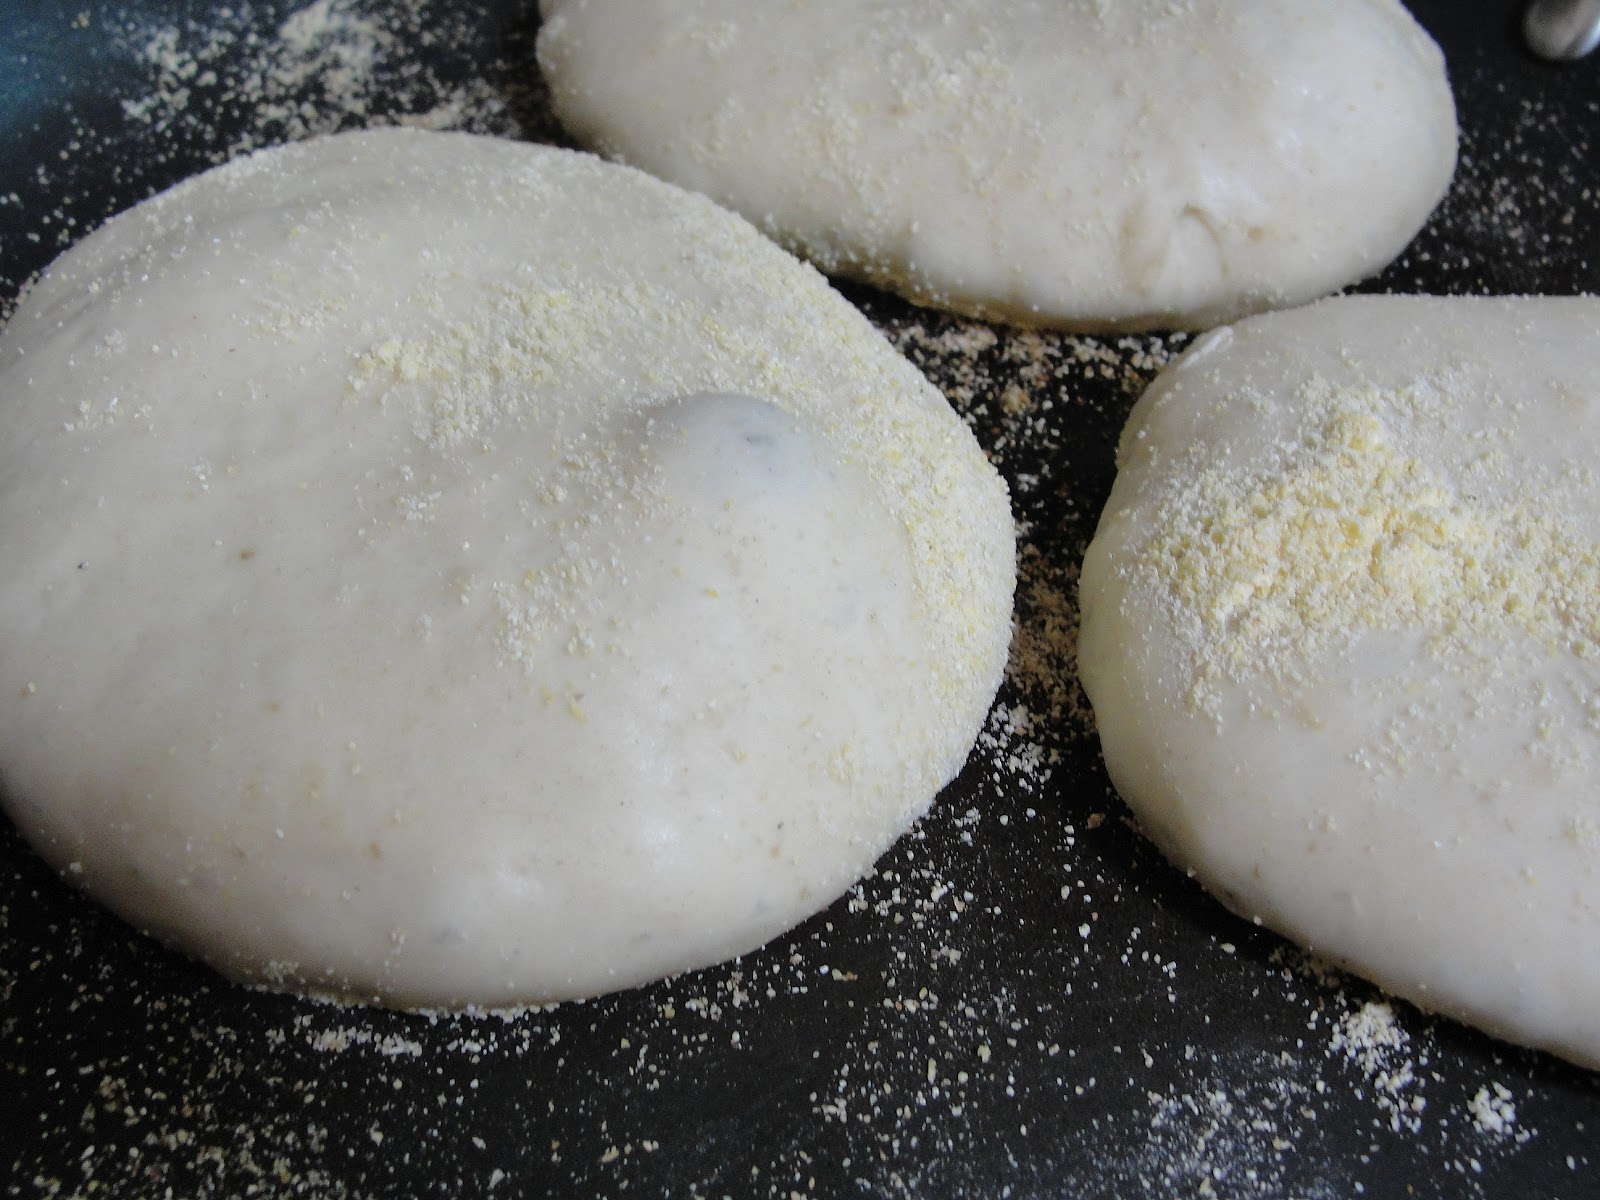
The cut pieces of dough were then set on a cookie sheet that I'd liberally dusted with cornmeal, and then also topped with more cornmeal.

These were then set to proof for 45 minutes. Okay, so the recipe said to rest them for 45 minutes. I let them rest longer, as little man and I hit the library for story time. So they rested for closer to an hour and a half. They didn't rise took much, but they did spread a bit.
And then it was time to cook. Like most English muffin recipes I have seen, these are cooked on top of the stove rather than in the oven. It was pretty fun to watch these cook. They went on a very lightly greased skillet for about five minutes per side. Can you see that bubble there? We could actually watch them as they cooked! Pretty cool!
Once flipped, I could see that they'd reached the beautiful, golden color that I'd hoped for.

The hardest part was waiting for them to cool enough to taste.

But it was totally worth the wait! These tasted delicious, but, surprisingly, they didn't have a strong sourdough tang for me. Also surprisingly, little miss, who has recently told me that she likes neither English muffins nor sourdough, loved them.
These might just be my new favorite English muffins. So easy, so delicious, and check out those nooks and crannies!

We've had them plain, with jam, with butter and honey - any way you can think of, these are a winner.
So did you enjoy your English muffins as much as I did? Link up and show us how you did!
Sourdough English Muffins
(from Baking Bites)
½ cup sourdough starter, fed
3 cups all purpose flour
1 cup water
½ tsp baking soda
½ tsp salt
2 tbsp sugar
cornmeal for dusting
Combine starter with 2 cups of flour and 1 cup of water. Stir thoroughly, cover with plastic wrap and let sit out overnight (about 7-10 hours).
In the morning, add the baking soda, salt, sugar to the dough and gradually add the remaining 1 cup of flour, 2 tablespoons at a time, until the dough looses its stickyness. Turn dough out onto a lightly floured surface and roll until about ½ inch thick. Use a lightly floured biscuit cutter (I used my English muffin rings) and cut the dough into as many rounds as possible (I got eight). Place rounds on an ungreased baking sheet that has been generously dusted with cornmeal. Sprinkle the tops of the muffins with additional cornmeal and leave them to rise, covered with a clean dishtowel or plastic wrap, for about 45 minutes.
Heat a lightly oiled or nonstick skillet over high heat until very hot, then reduce the temperature to medium/medium high.
Cook the muffins for about 5 minutes on each side, turning only once. The muffins will reach a light or medium brown (turn town the temperature slightly if they cook too quickly) on both the top and the bottom when they are cooked through. Before the first flip, the sides of the muffin will start to look dry, like the edges of a pancake, when it it ready to be turned. You can peek at the underside, too.
Cool completely before storing.
Enjoy!


Beautiful looking english muffins, Shelley! I love how nice and big yours are! Mine were more appetizer sized, but still delicious! Looks like you got a lot more nooks and crannies, too! Did you use your starter straight from the fridge or feed it first?
ReplyDeleteI actually pulled it straight from the fridge for these! If I'd been a little more on the ball, I would have fed it the day before, but we'd been away for the weekend and I really wanted them anyway. It worked out decently, though! :)
DeleteI always keep my starter at room temp, and I'm crazy, so I feed it every day. I'm wondering if this recipe would hold (or retard) after rolling and cutting in the fridge until the next day? I think the English muffin bug is hitting me again...
ReplyDeleteYour muffins look so perfect! Nice holes in the middle. Watching them rise as they cooked on the stove was quite exciting for me too. One second, they're flat, and the next, they're all puffed up!
ReplyDeleteAh, yes. These were definitely a winner :-)
ReplyDeleteYour English Muffins look Great! The step by step pictures are great too! Can't wait for next month!
ReplyDeleteI am all about the nooks and crannies in an English muffin, and I was so impressed with how these ones turned out! They look great Shelley - no wonder Little Miss loved them!
ReplyDelete